Let’s be honest—there’s just something magical about chocolate wafer cookies. That first crisp bite, followed by an intense, melt-in-your-mouth chocolate flavor… pure bliss! If you’ve ever hunted down Nabisco’s Famous Chocolate Wafers only to find they’ve disappeared from shelves (yes, they’re discontinued!), I feel your pain. But guess what? You don’t need store-bought when you can make even better ones right at home!
Homemade chocolate wafer cookies are incredibly easy to make and, dare I say, even more delicious than the packaged kind. You get to control the ingredients, which means you can make them richer, crispier, or even a bit softer if you like. Plus, they’re versatile! Whether you’re building a killer icebox cake, crafting a cheesecake crust, or simply looking for a crispy chocolate snack to munch on, these cookies have got you covered.
So, grab your apron and let’s bake some chocolate magic. Trust me, once you whip up a batch of these rich, crispy chocolate wafers, you’ll wonder why you ever bothered with store-bought—and you’ll feel like a total kitchen rockstar!
Table of Contents
What Are Chocolate Wafer Cookies?
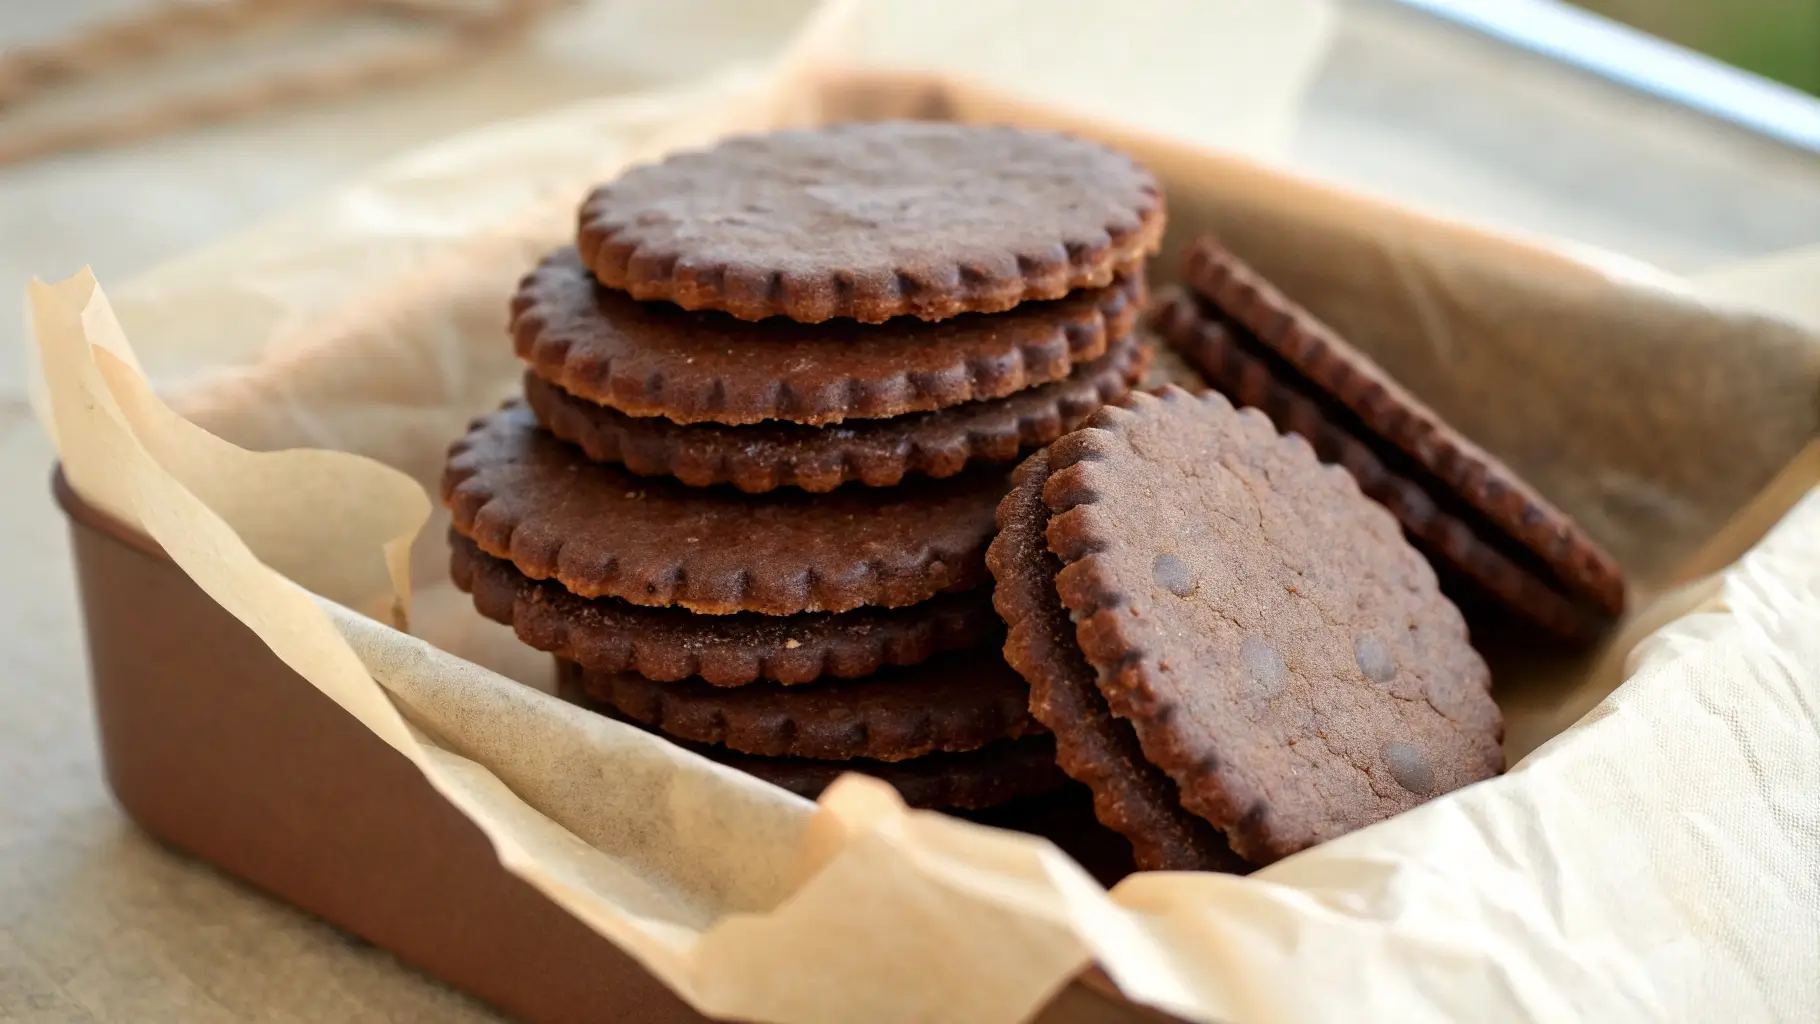
Chocolate wafer cookies are thin, crispy, and deeply chocolatey delights that bring a satisfying crunch with every bite. Think of them as the more sophisticated cousin of your everyday chocolate cookie. They’re not soft or chewy—instead, they’re perfectly crisp, making them ideal for layering in desserts or enjoying on their own with a cup of coffee.
They stand out because of their intense cocoa flavor. Thanks to the use of Dutch process cocoa powder, these cookies boast a rich, dark chocolate taste without being overly sweet. Their versatility is unmatched—you can use them to create decadent icebox cakes, press them into pie crusts, or sandwich them around ice cream for a fun twist on the classic ice cream sandwich.
And the best part? They’re customizable! Make them as thin and crispy or as thick and snappy as you like. Whether you love a crunchy snack or need a sturdy base for your desserts, these cookies are up for the task.
Why Make Homemade Chocolate Wafer Cookies?
Sure, buying cookies off the shelf is convenient, but making them yourself? That’s where the magic happens! Here’s why homemade chocolate wafer cookies are totally worth it:
1. Richer Flavor and Better Texture
Store-bought versions can be bland or overly sweet. When you bake these at home, you can use high-quality cocoa powders like Valrhona or King Arthur’s Dutch Process Cocoa for a deep, luxurious chocolate flavor. Plus, you can decide how thin or thick you want them!
2. Control Over Ingredients
Want to make them gluten-free? No problem. Need a vegan version? Easy! Homemade means you can swap ingredients to fit your dietary needs. No weird preservatives or artificial flavors—just pure, rich chocolate goodness.
3. Cost-Effective and Fun
Let’s face it, premium cookies can be expensive. Making them at home is not only budget-friendly but also a fun project. Bake with family, friends, or kids—it’s a great way to spend time together and create something delicious.
4. Versatility in Desserts
These cookies aren’t just for snacking. Crush them for a cheesecake base, layer them in an icebox cake, or crumble them over ice cream. The possibilities are endless. Need inspiration? Check out our Brownie Cheesecake Recipe for the perfect pairing!
Ingredients for Chocolate Wafer Cookies

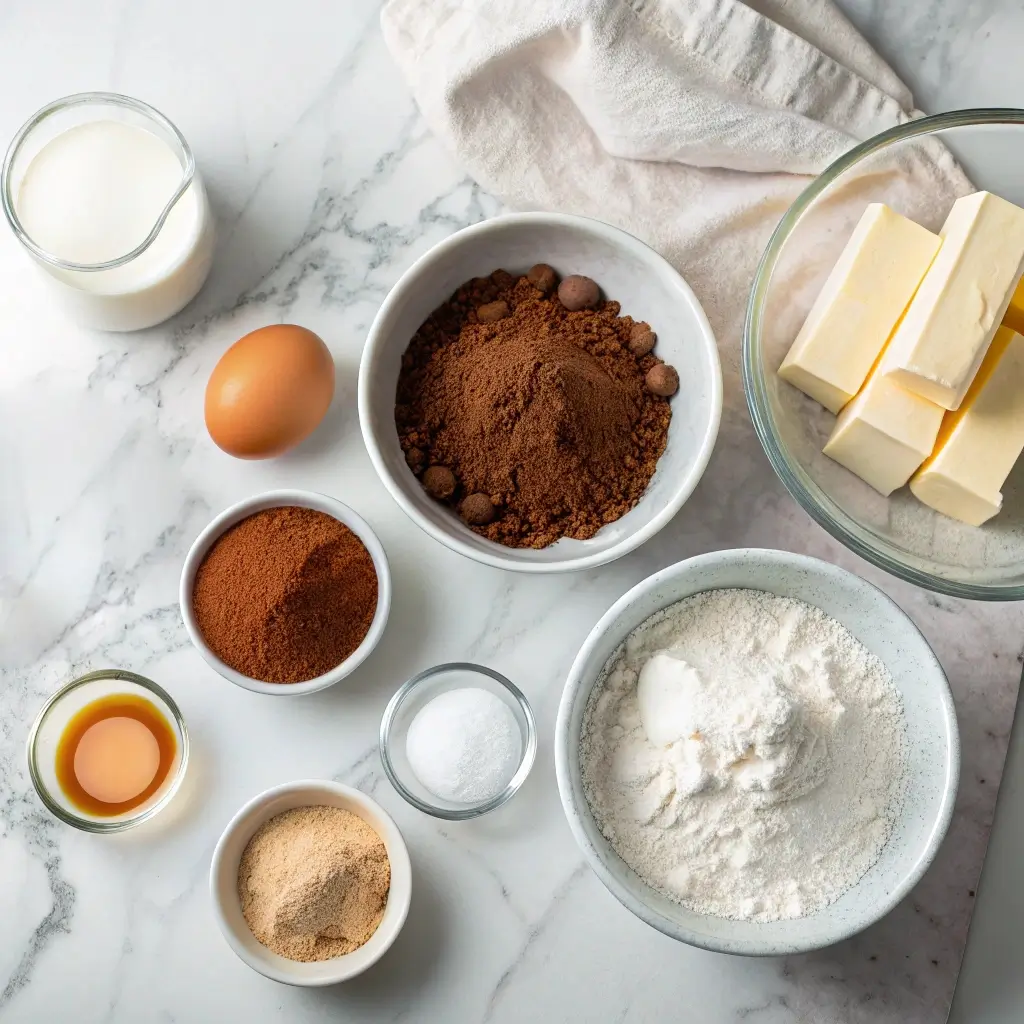
You won’t need any fancy ingredients—just a few pantry staples come together to make these mouthwatering cookies.
Here’s What You’ll Need:
- 1 cup all-purpose flour – Provides the structure for the cookies.
- ¾ cup Dutch process cocoa powder – Gives the cookies their deep chocolate flavor.
- ½ teaspoon baking soda – Helps the cookies bake evenly.
- ¼ teaspoon salt – Balances and enhances the chocolate flavor.
- ½ cup unsalted butter (room temperature) – Adds richness and helps with crispiness.
- ¾ cup granulated sugar – Sweetens and adds a slight crisp.
- 2 tablespoons milk – Binds the dough and keeps it from being too dry.
- 1 teaspoon pure vanilla extract – Adds warmth and depth of flavor.
- Optional: A pinch of espresso powder for an extra chocolate boost!
Ingredient Notes:
- Cocoa Powder: For the best results, stick with Dutch process cocoa powder. It’s less acidic and creates a smoother, richer cookie. Brands like Valrhona or King Arthur are excellent choices.
- Butter: Use unsalted butter so you can control the saltiness.
- Sugar: Want a deeper sweetness? Swap half the granulated sugar for brown sugar!
Equipment You’ll Need
No fancy gadgets are required here, but having the right tools makes baking easier and more fun.
- Mixing Bowls – One for dry ingredients, one for wet.
- Electric Mixer or Stand Mixer – For creaming butter and sugar.
- Parchment or Wax Paper – To roll out and chill the dough.
- Sharp Knife or Cookie Cutter – For slicing or shaping the cookies.
- Baking Sheets – To bake the cookies evenly.
- Wire Rack – For cooling.
Step-by-Step Instructions to Make Chocolate Wafer Cookies

Step.1: Mix the Dry Ingredients
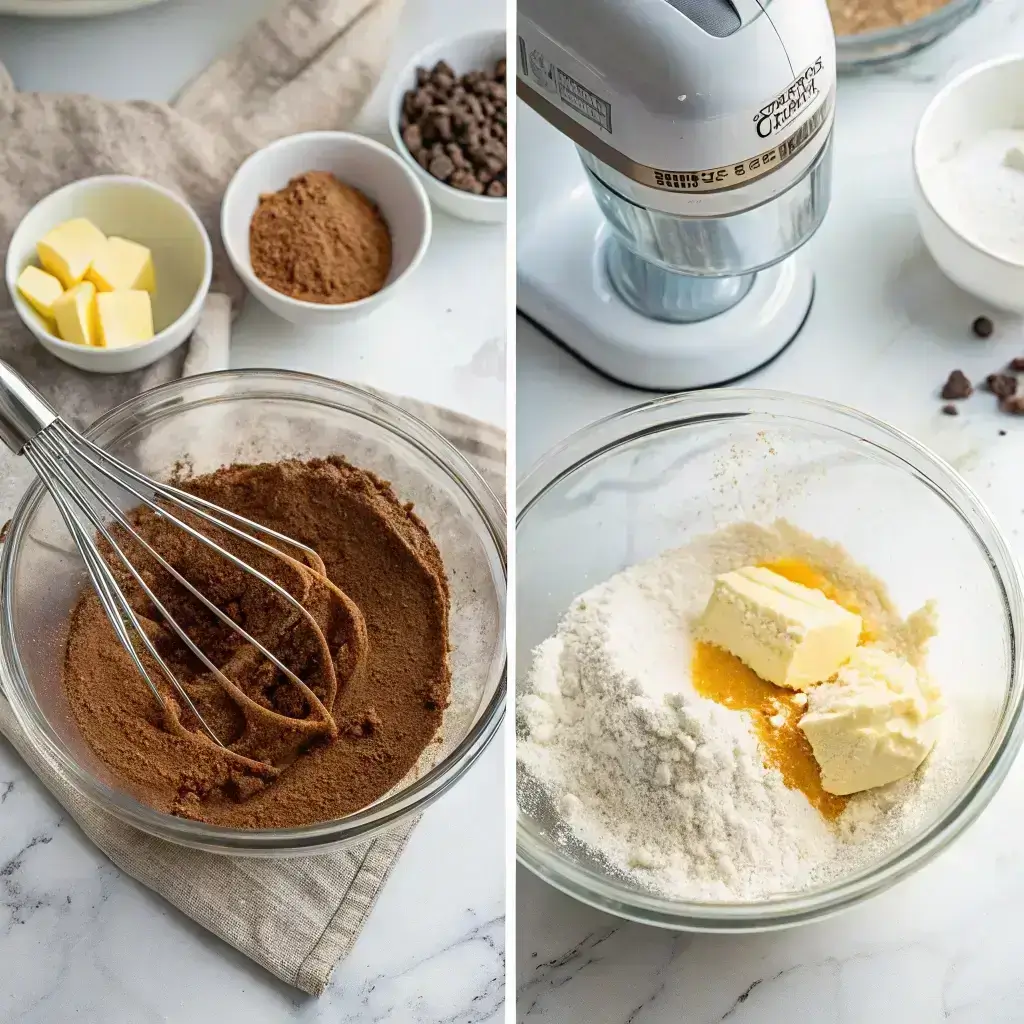
In a large bowl, whisk together flour, Dutch process cocoa powder, baking soda, and salt. This step makes sure everything is evenly distributed, so each bite is perfectly chocolatey.
Step.2: Cream the Butter and Sugar
In another bowl, beat the butter and sugar together until it’s light and fluffy. This takes about 2-3 minutes. This step is key for achieving that crisp texture.
Step.3: Add the Wet Ingredients
Mix in the milk and vanilla extract. The dough will look a little dry, but that’s okay! It should hold together when pressed.
Step.4: Shape and Chill the Dough
Form the dough into a log for slice-and-bake cookies or flatten it between two sheets of parchment paper if you prefer cut-out shapes. Chill for at least 1 hour. This helps the cookies maintain their shape while baking.
Step.5: Slice and Bake
Preheat your oven to 350°F (175°C). Slice the dough into thin rounds (about 1/8 inch thick) or cut into shapes. Bake for 10-12 minutes until set.
Step.6: Cool and Store
Let the cookies cool on the baking sheet for 5 minutes, then transfer to a wire rack. Store in an airtight container for up to a week—or freeze for up to 3 months.
Baking Tips for Perfect Chocolate Wafer Cookies
- Chill the Dough: Cold dough means cookies that won’t spread too much.
- Even Slices: Aim for consistent thickness so all cookies bake evenly.
- Don’t Overbake: They should be firm but not rock-hard. They’ll crisp up as they cool.
- Flavor Boost: Add a teaspoon of espresso powder for a richer chocolate taste!
Creative Ways to Use Chocolate Wafer Cookies
- Icebox Cakes: Layer cookies with whipped cream and let it chill overnight. Soft, dreamy dessert!
- Cheesecake Crust: Swap graham crackers for these cookies in our Brownie Cheesecake Recipe.
- Ice Cream Sandwiches: Sandwich ice cream between two cookies for the ultimate treat.
- No-Bake Desserts: Crumble them into parfaits or trifles for a quick, elegant dessert.
Pairing Chocolate Wafer Cookies with Other Desserts
Oh, the things you can do with chocolate wafer cookies! They’re more than just a crunchy snack—they’re the ultimate team player in so many desserts. Let me show you how these crispy little treats can take your desserts to the next level.
1. Churro Cheesecake Fusion
Imagine the crispy, buttery base of these chocolate wafers combined with the creamy, spiced goodness of a churro cheesecake. Sounds dreamy, right? Swap out the usual graham cracker crust in our Churro Cheesecake Recipe for a crushed chocolate wafer cookie base. The deep chocolate flavor adds a luxurious twist to the rich cheesecake filling.
2. Brownie Cheesecake Combo
If you’re a fan of all things chocolate (and who isn’t?), this is a must-try. Use these cookies to make a crust for our Brownie Cheesecake Recipe. The crispy chocolate layer pairs perfectly with the dense, fudgy brownie and creamy cheesecake. It’s like a chocolate lover’s dream come true!
3. Festive Holiday Desserts
Need something special for your holiday spread? Crush these cookies and layer them with whipped cream and berries for a festive trifle. Or pair them with our Christmas Crack Recipe with Pretzels for a sweet-and-salty dessert combo that’ll wow your guests.
4. No-Bake Desserts and Icebox Cakes
Too hot to turn on the oven? No problem! These cookies are perfect for no-bake treats. Layer them with whipped cream or pudding, chill overnight, and you’ve got a soft, cake-like dessert that’s as easy as it is delicious.
Cocoa Powder Recommendations for Rich Flavor
Let’s talk cocoa powder. It’s the star of this recipe, so choosing the right one makes all the difference.
1. Dutch Process Cocoa Powder
This is my go-to for chocolate wafer cookies. It’s smoother, darker, and less acidic than natural cocoa powder. Brands like Valrhona, King Arthur, and Ghirardelli are fantastic choices if you want a deep, rich chocolate flavor.
2. Natural Unsweetened Cocoa Powder
If you prefer a sharper, slightly tangy chocolate flavor, natural cocoa powder is the way to go. It’s a bit lighter in color and flavor but still makes a delicious cookie.
3. Hershey’s Special Dark Cocoa
Can’t decide between Dutch process and natural cocoa? Hershey’s Special Dark is a blend of both, giving you a balanced, intense chocolate taste. It’s widely available and budget-friendly!
Pro Tip: For cookies that are ultra-chocolatey, use a high-fat cocoa powder (look for 22-24% fat content). Trust me, it makes a difference!
Troubleshooting Common Baking Issues
Even seasoned bakers hit a few bumps in the road. Don’t worry—I’ve got your back! Here’s how to solve common chocolate wafer cookie problems:
1. Cookies Too Soft
The Fix: Slice the dough thinner and bake a few minutes longer. Remember, they’ll crisp up as they cool.
2. Dough Too Sticky
The Fix: Chill the dough longer or add a tablespoon of flour. Sticky dough can be tricky, but a little patience (and chilling) goes a long way.
3. Cookies Spread Too Much
The Fix: Make sure your dough is cold before baking. Also, avoid over-creaming the butter and sugar—it can cause spreading.
4. Bitter Taste
The Fix: Use high-quality cocoa powder and double-check your baking soda measurements. Too much baking soda can throw off the flavor.
Why You’ll Love This Chocolate Wafer Cookie Recipe
Still on the fence? Let me break it down for you. This recipe is:
- Simple and Straightforward: No fancy techniques or hard-to-find ingredients.
- Customizable: Want them thinner? Thicker? Gluten-free? Vegan? Go for it!
- Versatile: From cheesecakes to ice cream sandwiches, these cookies do it all.
- Rich and Chocolatey: Thanks to Dutch process cocoa, every bite is packed with deep chocolate flavor.
- Perfect for Make-Ahead Baking: Freeze the dough or baked cookies for when that chocolate craving hits.
Once you bake a batch, I promise these cookies will become a staple in your kitchen. You’ll wonder how you ever lived without them!
FAQs
What happened to chocolate wafer cookies?
Nabisco Famous Chocolate Wafers were discontinued, but homemade versions are an even tastier alternative!
What can I substitute for chocolate wafer cookies?
Try Oreos (without filling), chocolate graham crackers, or this easy homemade chocolate wafer cookie recipe.
Are chocolate wafers discontinued in Canada?
Yes, Nabisco’s Famous Chocolate Wafers are discontinued in Canada, but you can easily make them at home!
What is chocolate wafers?
Chocolate wafers are thin, crispy, and rich chocolate cookies perfect for desserts or snacking.
Final Thoughts
And there you have it—your foolproof guide to making the best homemade chocolate wafer cookies! These cookies are everything you could want: crispy, rich, and packed with intense chocolate flavor. Whether you’re stacking them into a sky-high icebox cake, pressing them into a pie crust, or sneaking a few straight off the cooling rack (no judgment here!), they’re sure to become your new favorite go-to treat.
So, what are you waiting for? Go ahead and give this recipe a try. Your kitchen is about to smell amazing, and your taste buds will thank you. Happy baking!

Chocolate Wafer Cookies
Ingredients
- 1 cup all-purpose flour
- ¾ cup Dutch process cocoa powder
- ½ teaspoon baking soda
- ¼ teaspoon salt
- ½ cup unsalted butter room temperature
- ¾ cup granulated sugar
- 2 tablespoons milk
- 1 teaspoon pure vanilla extract
- Optional: 1 teaspoon espresso powder for a richer chocolate flavor
Instructions
- Mix Dry Ingredients: In a bowl, whisk together flour, cocoa powder, baking soda, and salt.
- Cream Butter and Sugar: In a separate bowl, beat butter and sugar until light and fluffy.
- Combine Wet and Dry: Gradually mix dry ingredients into the butter mixture. Add milk and vanilla extract. Mix until dough forms.
- Shape and Chill: Roll the dough into a log or flatten it between parchment paper. Chill for at least 1 hour.
- Slice and Bake: Preheat oven to 350°F (175°C). Slice dough into 1/8-inch rounds or cut shapes. Place on a baking sheet and bake for 10–12 minutes.
- Cool and Store: Let cookies cool on the sheet for 5 minutes, then transfer to a wire rack. Store in an airtight container.
Notes
- Use Dutch process cocoa powder for a richer chocolate flavor.
- Chill the dough well to prevent spreading.
- Freeze dough for up to 3 months for easy future baking.
- Add espresso powder for an extra chocolate kick.
